Achieving flawless tile installation starts with proper wall preparation, and understanding how to level a wall before tiling is fundamental to any successful project. Uneven surfaces can lead to cracked tiles, poor adhesion, and an unprofessional appearance that diminishes the value of your investment. Whether you’re tackling a bathroom renovation or updating your kitchen backsplash, proper wall leveling ensures your tiles will look stunning and last for years to come. Professional contractors rely on proven techniques and specialized tools to transform irregular surfaces into perfectly smooth canvases ready for tile installation.
Why Leveling a Wall is Crucial Before Tiling
Understanding the importance of wall preparation sets the foundation for successful tile installation and helps avoid costly mistakes that can compromise your project’s integrity.
The Importance of a Smooth Surface for Tiling
A level wall serves as the foundation for professional-looking tile work. When surfaces aren’t properly prepared, tiles can appear crooked, create uneven grout lines, or fail to adhere correctly. The process of how to level walls involves identifying high and low spots, filling depressions, and sanding down protrusions to create a uniform surface. This preparation step is especially critical when working with large format tiles, which tend to highlight even minor imperfections in the substrate.
Avoiding Common Issues with Uneven Walls
Skipping the leveling process often results in costly repairs down the line. Tiles installed on uneven surfaces are more prone to cracking under stress, and grout lines may appear wavy or inconsistent. Additionally, water can collect in low spots behind tiles in wet areas, potentially leading to moisture damage or mold growth. Taking time to properly assess and correct wall irregularities before beginning your tile installation saves both time and money in the long run. Bay Tile’s experienced team can help identify potential issues during the initial assessment phase.
Step-by-Step Guide to Level a Wall for Tiling
Following a systematic approach to wall leveling ensures consistent results and helps you avoid common pitfalls that can derail your tile installation project.
Tools You’ll Need for the Job
Success in how to level a wall for tiling depends largely on having the right equipment. Essential tools include a long straightedge or level (4-8 feet), compound or patching material, sandpaper or sanding blocks, a putty knife or trowel, and a dust mask for safety. For more significant irregularities, you might need mesh tape, primer, and possibly a power sander to achieve the smooth finish required for tile installation. Bay Tile professionals use commercial-grade tools that ensure precision and efficiency in every project.
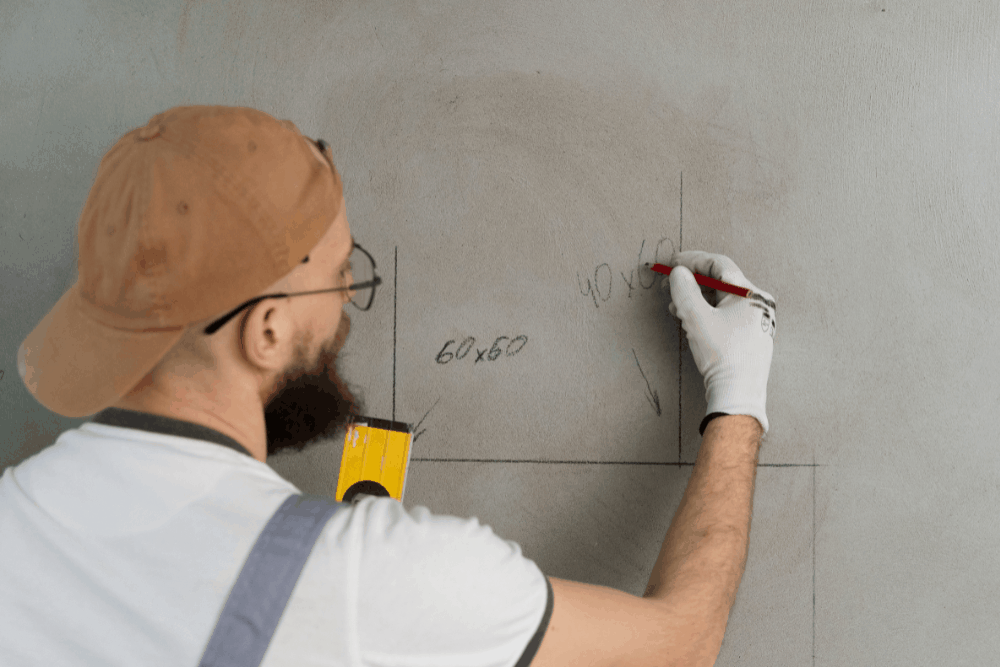
How to Prepare Your Wall for Tiling
Begin by thoroughly cleaning the wall surface and removing any loose paint, wallpaper, or debris. Use your straightedge to identify high and low spots, marking problem areas with a pencil. Small depressions can be filled with spackling compounds, while larger irregularities may require multiple coats or specialized patching materials. Allow each application to dry completely according to manufacturer instructions.
Techniques to Achieve a Level Surface
The key to how to level walls for tile lies in methodical application and patience. Apply patching compound in thin, even coats, feathering edges to blend seamlessly with the existing wall surface. Once dry, sand smooth and check your progress with the straightedge. For walls with significant irregularities, consider using self-leveling compounds or consulting with experienced professionals who can recommend the best approach for your specific situation.
How to level Shower Walls for Tile Installation
Shower environments present unique challenges that require specialized techniques and materials to ensure long-lasting, waterproof tile installations.
Challenges with Shower Walls
Bathroom environments present unique challenges when determining how to get wall tiles level. Moisture considerations require waterproof materials and proper ventilation during the leveling process. Shower areas often have plumbing penetrations, corners, and varying wall materials that complicate the leveling process. These factors make precision even more critical, as any imperfections will be magnified once tiles and grout are in place.
Using Mortar and Other Materials for Shower Wall Leveling
Understanding how to level shower walls for tile involves selecting appropriate materials that can withstand constant moisture exposure. Cement-based leveling compounds work well in wet areas, providing both smoothness and water resistance. Apply these materials in thin layers, working systematically from bottom to top while maintaining proper fall toward drains where applicable. Bay Tile specialists understand which materials perform best in different moisture conditions.
Tips for Ensuring Wall Tiles Stay Level

Maintaining level tiles throughout the installation process requires attention to detail and continuous monitoring to achieve professional-looking results.
Common Mistakes to Avoid
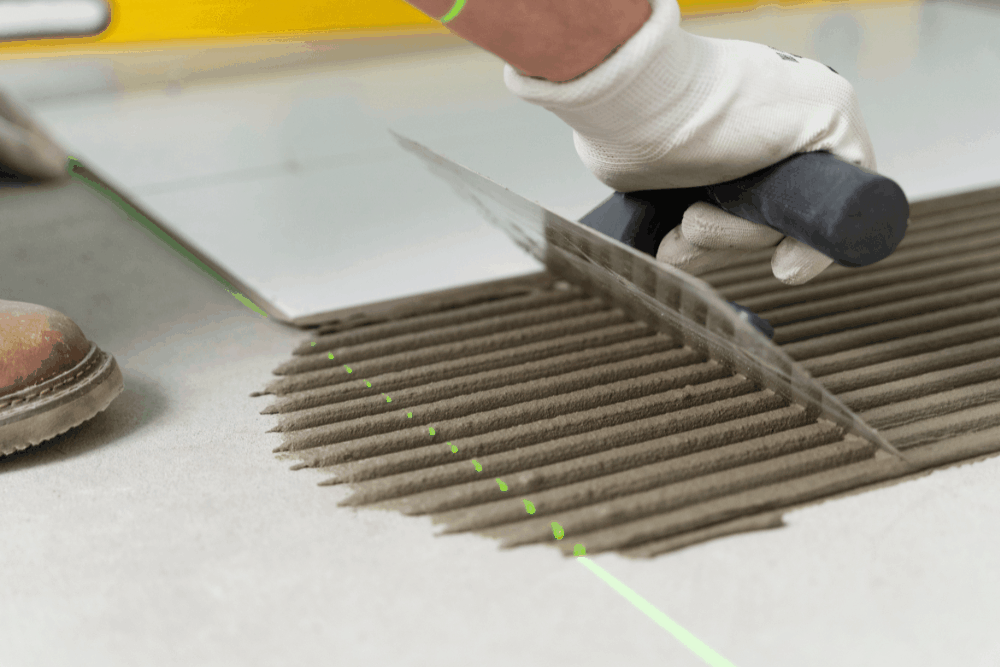
Even with properly leveled walls, tile installation errors can compromise your results. Avoid using too much adhesive, which can cause tiles to shift, and resist the urge to rush the process. Maintain consistent spacing and regularly check alignment with a level as you work. Taking breaks to step back and assess your progress helps identify potential issues before they become major problems.
How to Check Tile Alignment During Installation
Continuous monitoring throughout the installation process ensures professional results. Use spacers consistently and check every few tiles with your level, making adjustments as needed. A laser level can be particularly helpful for maintaining straight lines across large areas, while a small torpedo level works well for checking individual tiles and smaller sections.
Our Tiling Services: Let Us Handle the Hard Work for You
When precision and expertise matter most, professional tile installation services provide the knowledge and tools necessary to achieve exceptional results that stand the test of time.
Professional Wall Leveling Services
When wall irregularities are extensive or you prefer professional results, experienced contractors bring specialized tools and expertise to every project. Professional assessment can identify structural issues that might affect tile installation, and skilled technicians know which materials and techniques work best for different wall types and conditions. Bay Tile’s team has the experience to handle complex wall preparation challenges efficiently.
Expert Tile Installation for Perfect Results
Professional installers combine proper wall preparation with expert tile installation techniques to deliver lasting results. Their experience with various tile types, adhesives, and installation methods ensures your project meets both aesthetic and functional requirements. From initial assessment through final cleanup, professional tile installation services provide peace of mind and guaranteed satisfaction.
Why Choose Our Tiling Services for Your Home or Business?
With over 15 years of experience serving the San Francisco Bay Area and Sacramento regions, our team understands the importance of meticulous wall preparation and precise tile installation. We combine technical expertise with attention to detail, ensuring every project meets the highest standards for both appearance and durability. Bay Tile can help transform your space with professional wall leveling and tile installation services that exceed expectations.