
Before diving into the details, it’s important to understand that proper floor preparation is the foundation of every successful tile installation project. A well-prepared subfloor prevents future issues like cracked tiles, loose grout, and uneven surfaces. This guide walks you through the essential steps to prepare different floor types for tiling, ensuring your investment stands the test of time.
Preparing your floor correctly before installing tile is crucial for a successful, long-lasting result. The preparation process varies depending on your subfloor type, but it’s the foundation that determines whether your tile installation will withstand daily wear and tear. With proper preparation techniques, you can avoid future issues like cracking, loosening, or uneven tiles. For professional tile installation services, experienced contractors like those at Bay Tile follow specific protocols to ensure optimal results.
How to prep a concrete floor for tile
Concrete floors require special attention before tiling. This section covers the essential steps to create an ideal concrete surface for your new tiles.
What to do before tiling concrete
Concrete floors require thorough preparation before tiling. Start by inspecting the concrete surface for cracks, holes, or uneven areas. Repair any damages using appropriate concrete patching compounds and allow them to cure completely. Remove all debris, dust, and contaminants by thoroughly sweeping and vacuum cleaning the area. For older concrete floors, consider using a concrete grinder to eliminate surface imperfections and create a clean bonding surface.
Why concrete needs special preparation
Concrete is porous and may contain moisture that can compromise tile adhesion. Before proceeding, conduct a moisture test to ensure levels are within acceptable ranges. If the concrete is sealed or has paint residue, these barriers must be removed to allow proper bonding. How do you prepare a concrete floor for tile? Always apply a concrete primer specifically designed for tile installation to promote adhesion and create an optimal bonding surface. Proper concrete preparation prevents moisture-related issues and ensures your tiles will stay securely in place for years to come.
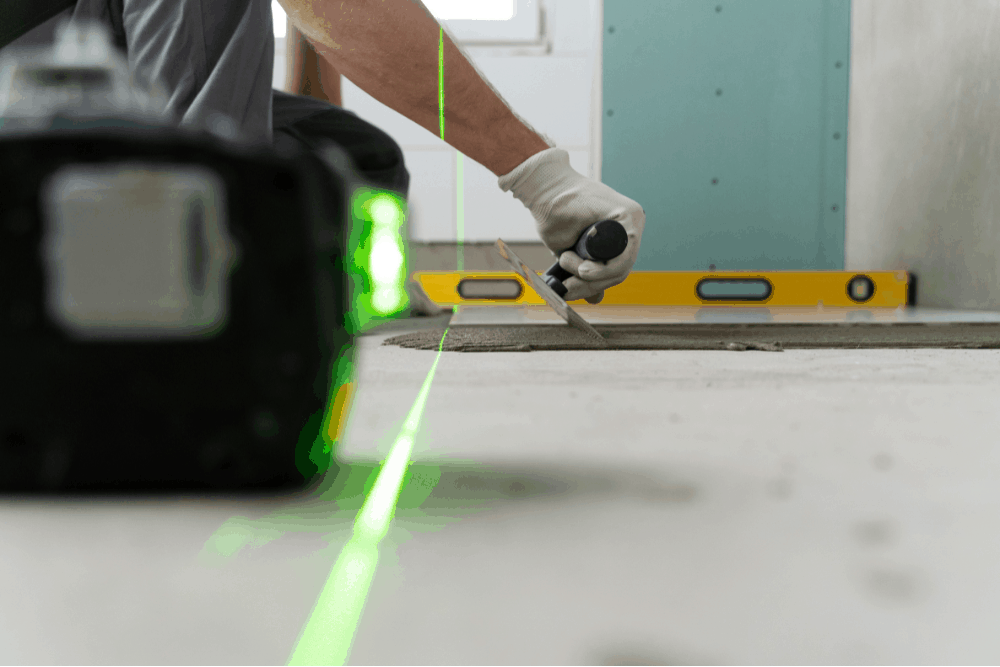
How to level a floor before tiling
A level floor is essential for professional-looking tile installation. Here’s why leveling matters and how to achieve it.
Why leveling is crucial for tile installation
An uneven floor will result in lippage (height differences between adjacent tiles), creating trip hazards and an unprofessional appearance. Even minor floor inconsistencies can lead to cracked tiles or grout failure over time. How to level a floor before tiling depends on the extent of unevenness and subfloor type, but this critical step should never be overlooked.
Step-by-step guide to leveling your floor
For minor unevenness, a self-leveling compound can be applied to create a smooth, level surface. First, apply a primer to ensure proper adhesion. Then mix the leveling compound according to manufacturer instructions and pour it onto the floor, allowing it to seek its own level. Use a gauge rake to spread the compound evenly and remove air bubbles with a smoother tool. Allow the compound to cure completely before installing tile – rushing this process can compromise the entire installation.
How to prep for tile floor
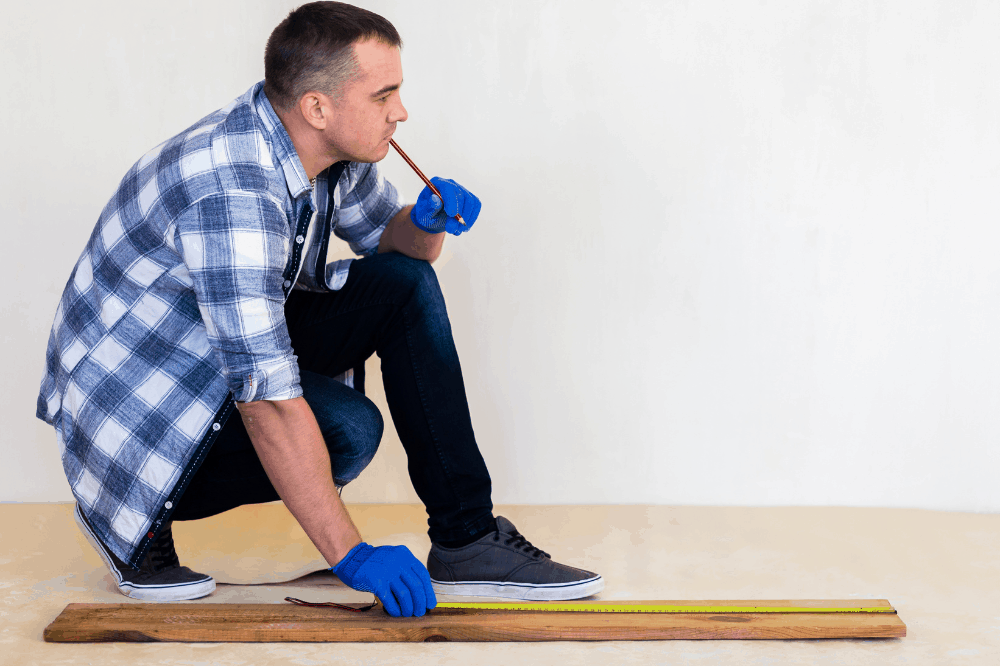
Proper preparation techniques vary by floor type but share common principles. Learn the essential steps for any tile preparation project.
Cleaning and smoothing your floor
Thoroughly clean the subfloor to remove all dust, dirt, grease, and debris. Any contaminants left behind can prevent proper adhesion. For wood subfloors, ensure all nails or screws are countersunk and the surface is structurally sound. Sand down any high spots and fill low areas with appropriate patching compounds. How to prep for tile floor always includes creating the smoothest possible surface, as even slight imperfections can become magnified once tile is installed.
Ensuring proper adhesion
After cleaning and leveling, apply the appropriate primer for your subfloor type. This enhances adhesion and creates an optimal bonding surface for mortar or adhesive. For areas exposed to moisture, like bathrooms or kitchens, apply a waterproofing membrane to protect the subfloor from water damage. The right preparation creates a strong bond that keeps tiles securely in place despite temperature changes and daily use.
How to prep concrete floor for tile: Common mistakes to avoid
Being aware of potential pitfalls can save you time, money, and frustration. Learn what not to do when preparing concrete floors.
Mistakes when preparing concrete for tiling
Common errors include insufficient cleaning, skipping moisture testing, and rushing the preparation process. Neglecting to repair cracks or failing to remove old adhesives can compromise the entire installation. Another frequent mistake is not allowing patching compounds and self-levelers adequate time to cure before proceeding with tile installation. Rushing through preparation is the most common reason for tile installation failure, so take your time and complete each step thoroughly.
Who can professionally prepare your floor for tile installation?
At Bay Tile, our team of professional installers has over 15 years of experience in proper floor preparation and tile installation. We understand that meticulous preparation is essential for beautiful, long-lasting results. Our experts thoroughly assess your subfloor conditions and implement the appropriate preparation techniques based on industry best practices and manufacturer recommendations. When you choose Bay Tile, you’re partnering with professionals who know that proper floor preparation is just as important as the tile installation itself.
Final tips and checklist
Before starting any tile installation project, gather all necessary tools and materials. Follow manufacturer guidelines for specific products being used. Always allow adequate drying and curing time between preparation steps. When in doubt about any aspect of floor preparation, consult with professionals like Bay Tile to avoid costly mistakes and ensure your tile installation stands the test of time. Remember that while proper preparation may seem time-consuming, it’s an investment that pays dividends in the longevity and appearance of your tiled surface.