Corner installations represent one of the most technically demanding aspects of any tile project. Whether you’re renovating a bathroom, updating a kitchen backsplash, or finishing a commercial space, the way tiles meet at corners can make or break the overall aesthetic. Professional installers understand that corners are focal points where craftsmanship becomes immediately visible, and even minor imperfections can draw unwanted attention. Mastering these transitions requires understanding both the technical requirements and the aesthetic considerations that contribute to a polished finish. For comprehensive solutions to your project needs, exploring professional options can provide the foundation for success.
Why Tiling Around Corners Requires Special Attention
Corner work demands elevated skill levels because these intersections concentrate multiple technical challenges simultaneously. Each corner serves as a visual reference point that viewers naturally use to judge the quality of the entire installation. Understanding why corners present such unique difficulties helps installers and homeowners appreciate the importance of proper execution.
Understanding the Challenges of Corner Tiling
Corners present unique challenges that differ significantly from flat surface installations. The intersection of two planes creates opportunities for lippage, uneven grout lines, and visual discontinuity. Water exposure in wet areas makes proper corner installation critical for preventing moisture infiltration behind tiles. Additionally, structural movement in buildings often manifests most noticeably at corners, requiring installers to account for expansion and contraction. Temperature fluctuations can cause materials to shift at different rates, and corners bear the brunt of these movements.
The Importance of Proper Techniques and Tools
Success begins with the right preparation and equipment. Wet saws with adjustable angle guides, quality tile nippers, and precise measuring tools become essential for achieving clean cuts. The substrate must be perfectly plumb and square, as any deviation multiplies exponentially at corner intersections. Professional installers invest time in proper surface preparation, knowing that shortcuts at this stage inevitably lead to compromised results. BAYTILE’s experienced team utilizes industry-leading tools and techniques to ensure every corner meets exacting standards.
Choosing the Right Tiles for Corner Installations
Tile selection significantly impacts the ease of installation and final appearance of corner work. Different tile types offer distinct advantages for corner applications, and understanding these characteristics helps you make informed decisions for your specific project requirements.
Why Subway Tiles Work Well Around Corners
The rectangular format and beveled edges of subway tile around corner</a> applications create natural visual breaks that help disguise minor imperfections. Their proportions allow for flexible layout patterns that can accommodate varying corner angles. The classic 3×6 inch dimension provides enough surface area for stable installation while remaining manageable for precise cutting and fitting. The timeless appeal of subway tiles means your corner work will remain stylish for decades, regardless of changing design trends.
Bullnose Tiles for Smooth Corner Edges
When working with tile around bullnose corner configurations, the rounded edge eliminates sharp transitions and creates a finished appearance without additional trim pieces. These specialized tiles solve the challenge of exposed edges while providing a safety advantage in high-traffic areas. The curved profile also helps direct water away from vulnerable seams in bathroom and kitchen installations. Bullnose tiles come in matching finishes for most tile lines, ensuring color and texture consistency throughout your project.
Metro Tiles: Modern Choices for Corner Installations
Contemporary projects frequently incorporate metro tiles around corners for their clean lines and versatile aesthetic. These tiles typically feature rectified edges that allow for minimal grout lines, creating seamless transitions between surfaces. The precision manufacturing of metro tiles makes them particularly suitable for modern designs where continuity and alignment take priority. Their larger format compared to traditional subway tiles can actually simplify corner installations by reducing the number of cuts required.
Step-by-Step Guide to Tiling Around Corners
Executing corner installations requires methodical progression through several critical phases. Each step builds upon the previous one, making it essential to maintain quality standards throughout the process rather than attempting to correct issues after the fact.
Preparing the Subfloor and Wall for Corner Tiling
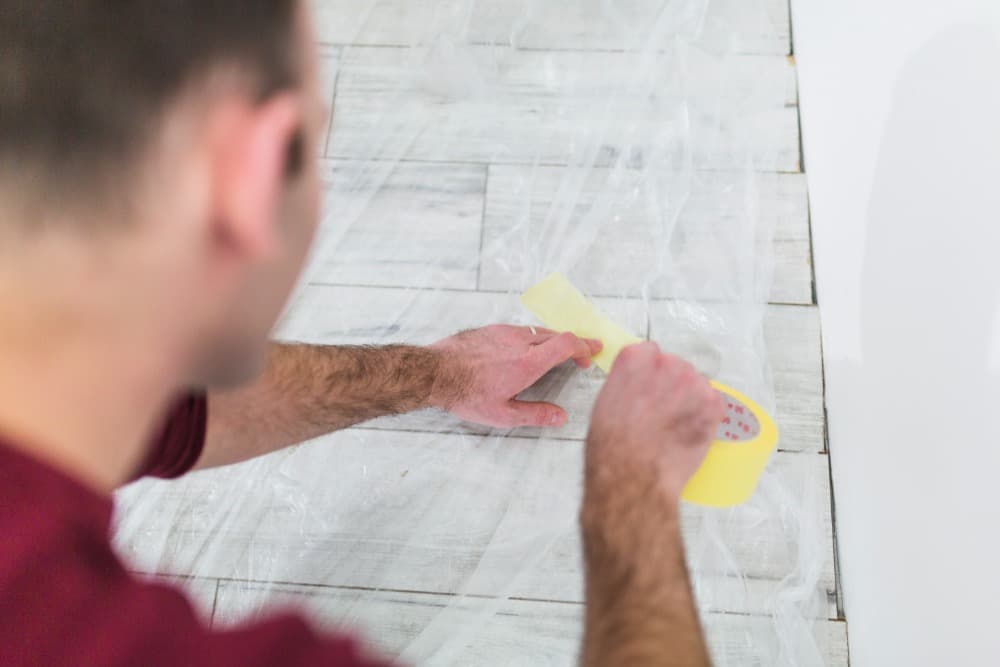
Foundation preparation determines the success of corner installations. Cement board or waterproof membrane systems must extend fully into corner areas without gaps. Check for plumb using a long level on both intersecting surfaces, addressing any irregularities with appropriate underlayment techniques. Apply thinset mortar consistently, avoiding buildup that can push tiles out of alignment at critical corner junctions. Any hollow spots beneath tiles at corners will eventually lead to cracking under stress, so proper adhesive coverage is non-negotiable.
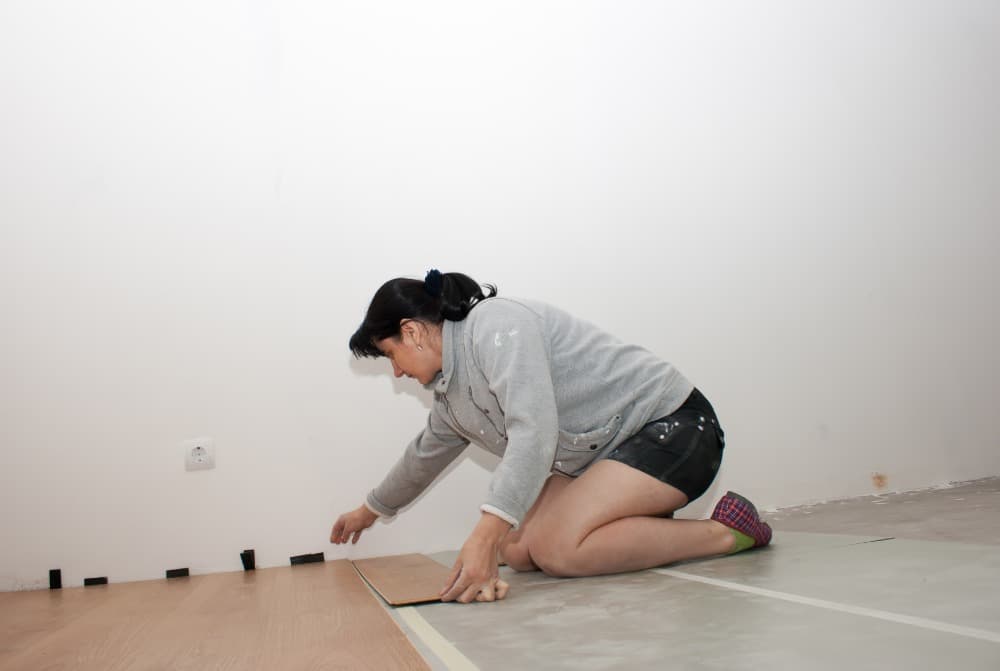
Measuring and Cutting Tiles for Corners
Precise measurements account for grout joint spacing and tile thickness. When cutting tiles for inside corners, remember to subtract the width of one grout joint to prevent tiles from touching. Outside corners require careful attention to ensure both visible edges meet cleanly. Test-fit cut tiles before applying mortar, making adjustments as needed to achieve tight, professional transitions. Mark cuts clearly and double-check measurements, as corner tiles often require custom dimensions that differ from field tiles.
Laying Tiles Around the Corner: Tips for Precision
Start installations from the corner outward when possible, establishing the critical intersection first. Use spacers consistently to maintain uniform grout lines through the transition. Apply mortar in small sections to prevent premature setup, and back-butter individual tiles at corners for maximum adhesion. Regularly check alignment with a straightedge across the corner to catch any drift before mortar sets. Working methodically ensures that pattern alignment remains consistent as you progress away from the corner intersection.
Advanced Corner Tiling Techniques
Professional-level corner work incorporates refined methods that separate exceptional installations from merely adequate ones. These advanced approaches address specific scenarios that challenge even experienced installers.
Creating a Clean Transition with Bullnose Tiles
Bullnose applications require attention to reveal depth and consistent overhang. Position these tiles so the rounded edge extends uniformly beyond the adjacent surface. When transitioning from field tiles to bullnose, maintain consistent grout joint spacing to preserve visual rhythm. Consider the viewing angle when determining bullnose placement, ensuring the most visible perspective shows the cleanest lines. The transition from flat field tiles to rounded bullnose creates a three-dimensional quality that adds architectural interest to otherwise plain surfaces.
Tiling Around a Corner Wall: Avoiding Gaps and Unevenness
Complex layouts involving tiling around a corner wall demand careful planning to maintain pattern continuity. Dry-lay the entire corner section before installation to identify potential alignment issues. When patterns must break at corners, position the interruption at the least visible angle. Use quality thinset with appropriate open time to allow for adjustments during the critical alignment phase. Multi-plane corners, such as those found in shower enclosures, require special attention to ensure all three surfaces align properly at the intersection point.
Subway Tile Around Corners: Ensuring Consistency
Running bond patterns popular with subway tiles require specific corner strategies. Decide whether to continue the pattern around the corner or create a deliberate break for visual interest. When maintaining the pattern, carefully calculate offset measurements to ensure the stagger remains consistent across both planes. Consider starting with a full tile at outside corners for the cleanest appearance. The offset pattern can actually work to your advantage at corners by naturally accommodating slight dimensional variations without creating obvious visual disruptions.
Finishing the Job: Sealing, Grouting, and Polishing
Final finishing steps protect your investment and enhance the visual impact of corner installations. These concluding processes require as much care and attention as the initial tile setting, as they directly affect both appearance and longevity.
Sealing the Corners for a Long-Lasting Finish
Corner seams in wet areas benefit from flexible caulk rather than rigid grout. Choose color-matched caulk that moves with structural expansion while maintaining a watertight seal. Apply sealant to natural stone and porous tile surfaces after grout fully cures, paying extra attention to corner areas where moisture exposure concentrates. Change-of-plane corners should always receive flexible sealant to accommodate normal building movement without cracking. BAYTILE professionals ensure proper sealing techniques that protect against water damage for years to come.
Choosing the Right Grout for Corner Installations
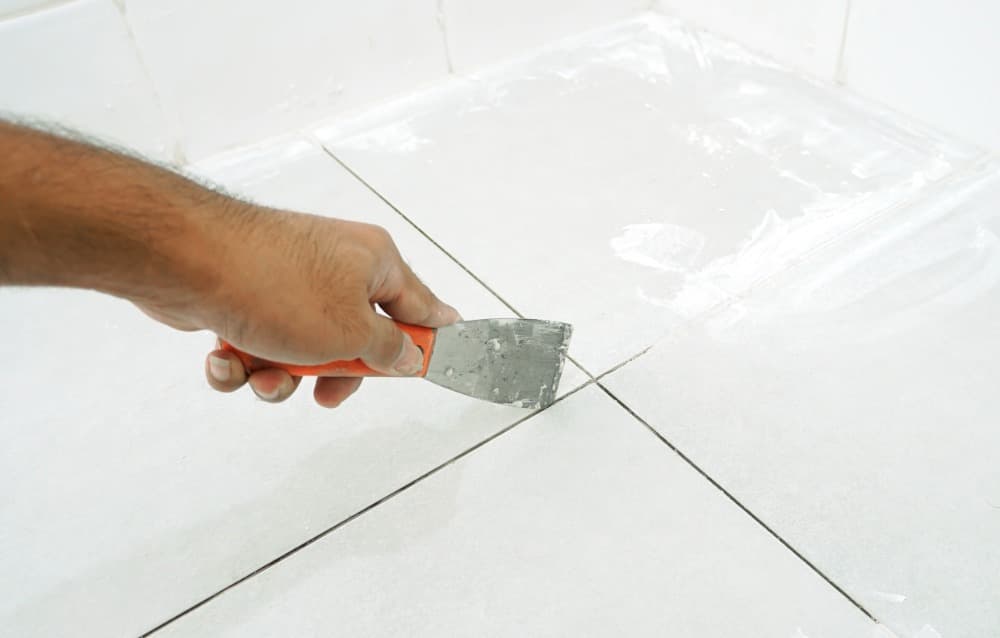
Epoxy grout offers superior performance in corners subject to water exposure and heavy cleaning. Standard cement-based grout works well for most applications when properly sealed. Match grout joint width to tile size and style, typically maintaining the same width through corner transitions for visual consistency. Darker grout colors can help minimize the visual impact of any minor imperfections at corners, while lighter grouts create a more uniform, expansive appearance. Proper grout application fills joints completely without voids that could trap moisture or allow movement.
Conclusion: Mastering Corner Tiling for a Flawless Look
Corner installations showcase the difference between adequate workmanship and true craftsmanship. The techniques outlined here provide a roadmap for achieving professional results, but experience remains the ultimate teacher. Each project presents unique challenges that require problem-solving skills developed through practice. Whether you’re tackling your first corner installation or refining established techniques, attention to detail at these critical intersections elevates the entire project from functional to exceptional. For installations that demand precision and lasting beauty, BAYTILE’s team of professional installers brings over 15 years of expertise to every corner, ensuring results that exceed expectations and stand the test of time.