Installing floor tiles involves more than just selecting beautiful materials and laying them down. The foundation of any successful tile project lies in understanding what secures those tiles permanently to your floor. Whether you’re tackling a bathroom renovation or updating your kitchen, knowing the right adhesives and preparation methods can mean the difference between a floor that lasts decades and one that requires costly repairs. Professional expertise in tile installation services tile flooring installation ensures these critical steps are executed flawlessly.
Understanding the Key Materials for Tile Attachment
The materials used to attach tiles to floors have evolved significantly over the years. Modern installations rely on specialized products designed to create strong, lasting bonds while accommodating the natural movement of buildings and temperature fluctuations. Understanding each material’s properties helps you select the right combination for your specific project needs.
What Are the Best Adhesives for Tile Installation?
Thinset mortar stands as the industry standard for floor tile installations. This cement-based adhesive creates an incredibly strong bond between tiles and prepared surfaces. Modified thinset contains polymer additives that enhance flexibility and water resistance, making it ideal for areas exposed to moisture. Unmodified thinset works best with specific waterproofing membranes and certain tile types. The choice between these options depends on your specific project requirements, including the tile material, location, and subfloor conditions.
Cement Board: Why It’s Crucial for Tile Installation
Cement board serves as the stable, moisture-resistant foundation that tiles need for long-term performance. Unlike standard drywall or plywood, cement board doesn’t deteriorate when exposed to water, making it essential for bathrooms, laundry rooms, and kitchens. This rigid underlayment prevents the flexing that causes tiles to crack or grout lines to fail. Installing cement board properly creates the ideal surface for thinset adhesion.
Other Materials: Liquid Adhesives and Tile Glue
While thinset dominates professional installations, liquid adhesives and pre-mixed mastics serve specific purposes. Mastics work well for wall tiles and certain vertical applications, offering easier application and faster setup times. However, these products aren’t suitable for floor installations or wet areas due to their limited moisture resistance and lower bond strength compared to thinset mortars.
The Importance of Proper Subfloor Preparation
Even the best adhesives fail without proper subfloor preparation. Your subfloor must be clean, level, and structurally sound before any tile work begins. This critical phase determines the longevity and performance of your entire installation.
How to Prepare Your Subfloor for Tile Installation
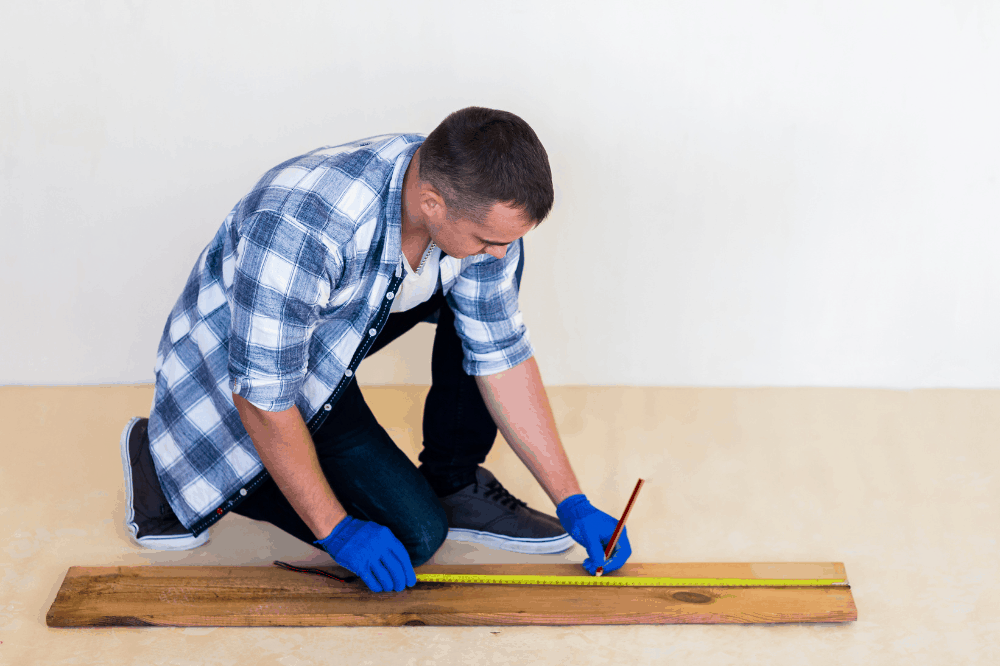
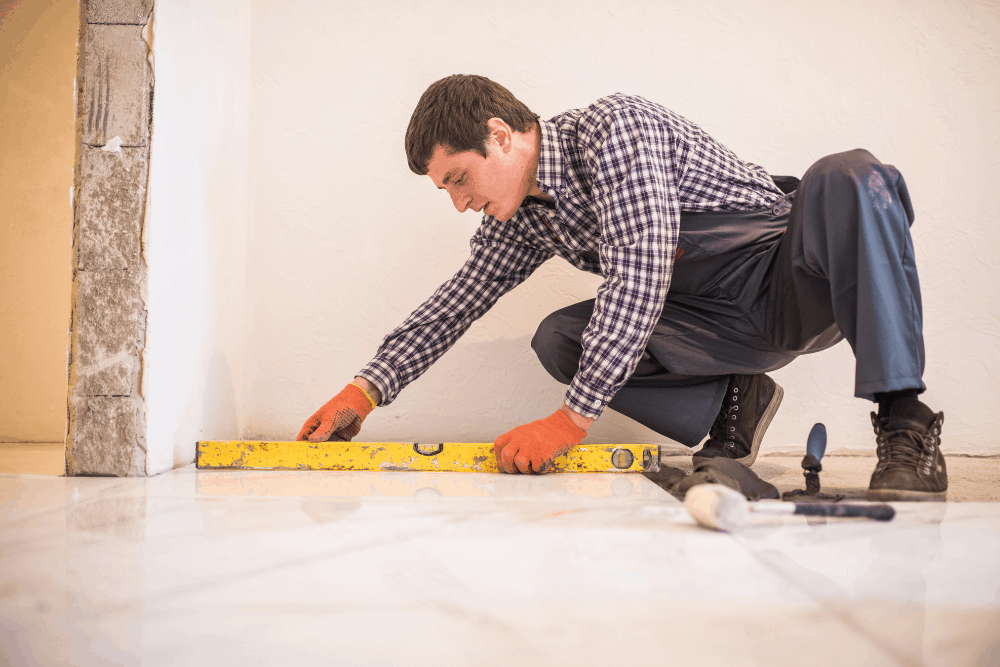
Start by removing all debris, dust, and old adhesive residue. Check for level using a straightedge—variations exceeding 1/4 inch over 10 feet require correction with self-leveling compound. Address any loose boards, squeaks, or damaged areas. The subfloor should be completely dry and free from oil, wax, or other contaminants that prevent adhesive bonding. Professional installers understand that skipping these preparation steps compromises even the most expensive tile and adhesive combinations.
Attaching Cement Board to Subfloor: A Necessary Step
The process of attaching cement board to the subfloor creates the stable platform tiles require. Secure cement board sheets using corrosion-resistant screws spaced every 8 inches along the edges and throughout the field. Leave 1/8-inch gaps between boards for expansion, and fill these joints with thinset and alkali-resistant mesh tape. This step-by-step approach prevents future movement that compromises tile integrity. BayTile’s experienced professionals ensure proper cement board installation, eliminating common issues that lead to premature tile failure.
Step-by-Step Guide to Attaching Tiles to the Floor
Following a systematic approach to tile installation ensures consistent results and prevents costly mistakes. Each step builds upon the previous one, creating a strong, durable floor surface.
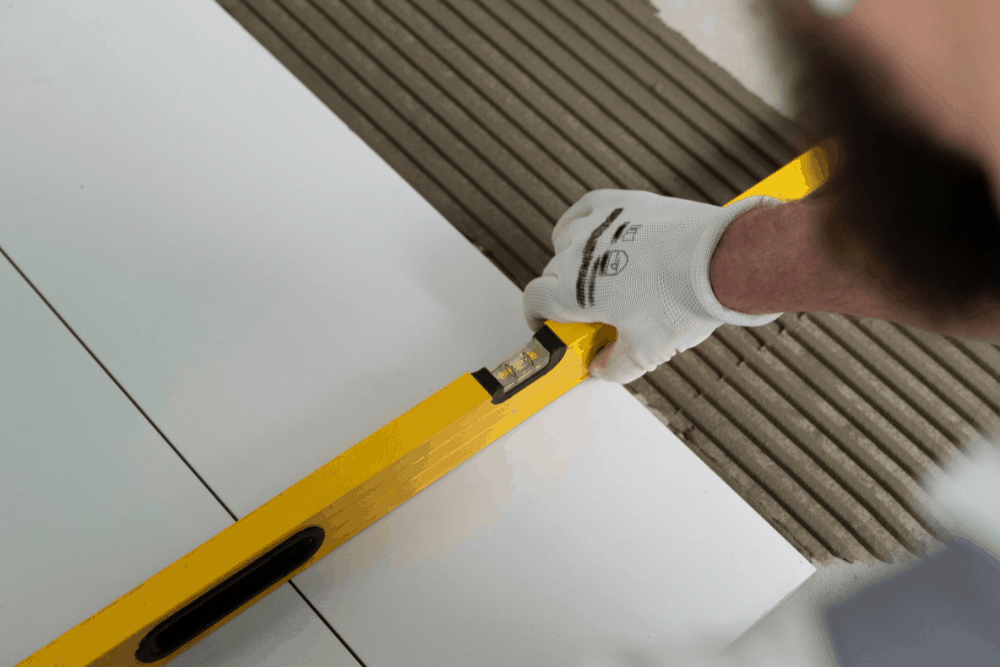
Begin by mixing thinset to the consistency specified by the manufacturer. Apply the mortar to the cement board using a notched trowel held at a 45-degree angle, creating uniform ridges. Work in small sections to prevent the thinset from skinning over. Press each tile firmly into place with a slight twisting motion, ensuring full contact. Use spacers to maintain consistent grout joints, and check for level frequently as you progress. Professional installers like those at BayTile have refined these techniques through years of experience, delivering flawless results efficiently.
Common Mistakes to Avoid When Attaching Tiles
Many installation failures stem from preventable errors that compromise the bond between tiles and substrate. Understanding these pitfalls helps you avoid expensive repairs and reinstallations.
Never apply thinset over dusty or contaminated surfaces. Avoid using the wrong trowel size—notch dimensions should match tile size and back texture. Don’t let thinset skin over before setting tiles, as this compromises bond strength. Rushing the process by grouting too soon prevents proper curing and leads to weak installations. Ignoring manufacturer specifications for mixing ratios, pot life, and open time creates adhesion problems that appear months or years later.
Which Adhesive Is Right for Your Tile Installation?
Selecting the appropriate adhesive depends on multiple factors: tile size and material, installation location, moisture exposure, and substrate type. Making the wrong choice can result in tiles that pop up, crack, or develop hollow spots underneath.
Large-format tiles require specialized large-tile-and-stone mortars with increased bond strength. Natural stone may need specific formulations that won’t stain. Heated floors demand flexible adhesives that accommodate thermal expansion. BayTile’s professional installers assess these variables during consultation, recommending the optimal adhesive system for your specific conditions.
Comparing Cost and Performance of Adhesives
Premium modified thinset costs more than basic unmodified versions but delivers enhanced performance in challenging conditions. Rapid-setting formulas allow faster project completion but leave less working time. While budget considerations matter, choosing inadequate adhesives leads to far greater expenses through premature failure and reinstallation costs. The initial investment in professional-grade materials pays dividends through decades of trouble-free performance.
Conclusion: Get Your Tile Installation Right the First Time
Understanding what attaches tiles to floors and executing proper installation techniques creates beautiful, durable results that enhance your home’s value and function for years to come. From selecting the appropriate thinset mortar to properly securing cement board substrates, each decision impacts your floor’s longevity. BayTile brings over 15 years of professional tile installation experience to every project, ensuring your floors receive the expert care they deserve. With proper materials, meticulous preparation, and skilled application, your tile floors will provide lasting beauty and performance.