Yes, you can put tile over tile — but only under the right conditions. The answer isn’t a blanket yes or no, and that distinction matters more than most homeowners realize. Done correctly, this approach can simplify a renovation significantly. Done poorly, it leads to cracked tiles, failed adhesion, and repairs that end up costing far more than the original job. Before committing to this method, it’s worth understanding when it works, what mistakes to avoid, and how to execute it properly. If you’re unsure where your project stands, consulting tile installation services early on can help you avoid expensive surprises.
When Is It Safe to Lay Tile Over Tile?
Not every surface is a candidate for this technique. The existing tile must meet a specific set of conditions before you add a new layer — skipping this evaluation is where most projects go wrong.
The surface must be completely level. Even minor height variations between tiles will telegraph through the new layer over time. Every existing tile must be firmly bonded — press each one and listen for a hollow sound, which signals it has already separated from the substrate. There must be no active moisture, water damage, or signs of mold beneath the surface. And there should be no structural damage to the subfloor below.
If any of these conditions aren’t met, placing new tile on top doesn’t solve the problem — it buries it. Tiles will eventually crack, grout lines will fail, and the entire installation may need to come out.
Common Mistakes to Avoid When Laying Tile Over Tile
Execution determines everything here. The most technically sound plan can fail if the practical steps are overlooked. These are the mistakes that show up most often — and the ones that hurt the most.
Not Properly Preparing the Surface
Skipping surface preparation is one of the most common — and most damaging — errors. The existing tile must be thoroughly cleaned, free of grease, wax, or any residue that reduces adhesion. In many cases, lightly sanding or scuffing the surface is necessary to give the adhesive something to grip. Without this step, even the best mortar won’t bond properly, and tiles will begin to lift or crack within months.
Using the Wrong Adhesive
Standard thinset mortar isn’t always appropriate for tile-over-tile applications. A modified polymer thinset or a specifically formulated bonding adhesive is typically required to achieve adequate adhesion to a glazed or semi-glazed surface. Using the wrong product doesn’t just reduce durability — it can cause complete failure of the new installation within a short time.
Ignoring the Subfloor Condition
The visible tile is only part of the picture. A subfloor that flexes, has soft spots, or shows signs of moisture damage will undermine the entire installation — regardless of how well the top layers are prepared. Any movement in the subfloor transfers directly to the tile above, eventually leading to cracked tiles and broken grout lines. Always inspect what’s underneath before proceeding.
Skipping the Proper Sealing
Once the new tile is grouted, sealing is the final step that protects the investment. Unsealed grout absorbs moisture, stains easily, and deteriorates faster. A quality penetrating sealer applied after grouting extends the life of the installation and keeps the finished surface looking clean and intact over time.
How to Lay Tile Over Tile: Step-by-Step Guide
Laying tile over tile is a technical process that demands precision at every stage. Rushing any step — or skipping one entirely — compromises the result. Here’s how to approach it correctly.
Step 1: Clean and Prepare the Existing Surface
Start with a deep clean using a degreaser appropriate for tile surfaces. Remove any wax, soap buildup, or adhesive residue. Once clean and dry, lightly abrade the surface with a sanding block or coarse sandpaper to improve mechanical adhesion. This step is non-negotiable — adhesion begins here, and no adhesive compensates for a poorly prepared surface.
Step 2: Choose the Right Adhesive and Tools
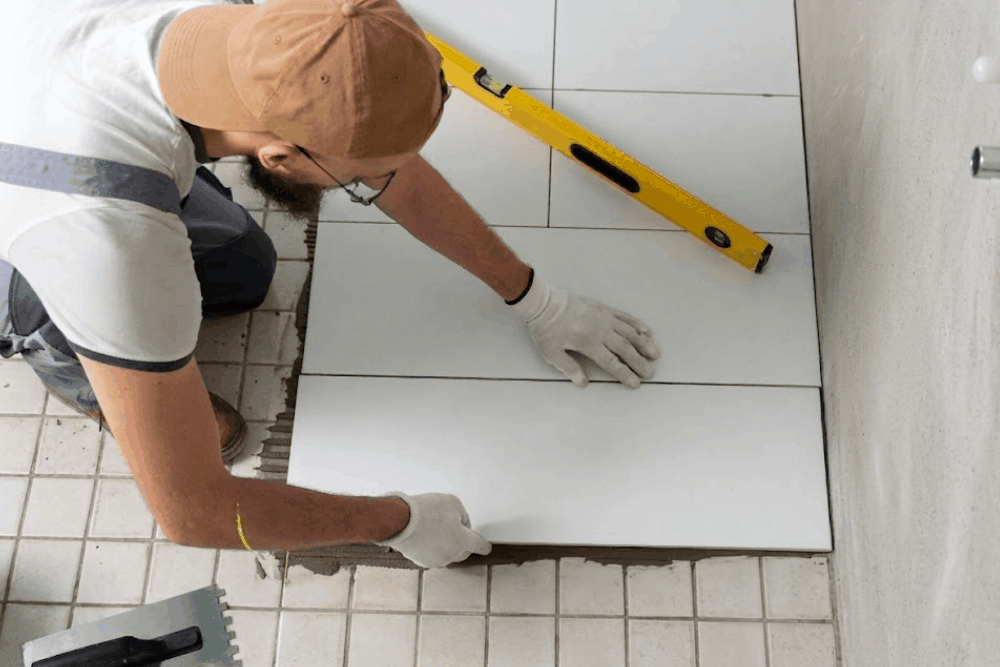
Select a modified thinset mortar or a dedicated tile-over-tile adhesive, based on the type of tile being installed and the surface below. For heavier tiles — such as natural stone or large-format porcelain — a higher-strength formula is necessary. Key tools include a notched trowel (sized to your tile format), a rubber mallet, tile spacers, and a spirit level.
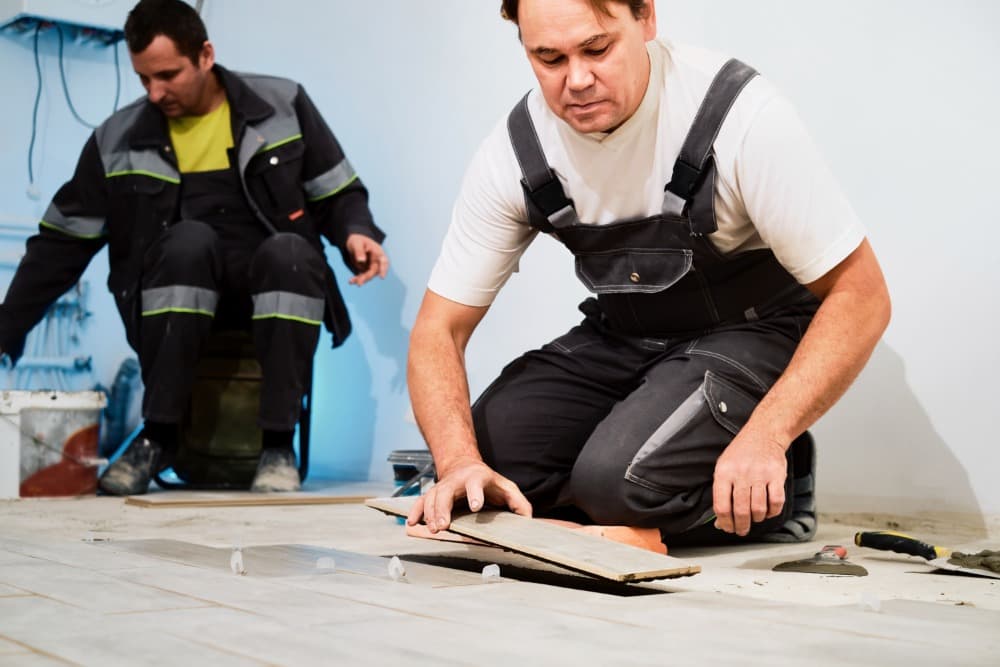
Step 3: Install the New Tiles
Apply the adhesive in sections, using the notched trowel to create consistent ridges. Set each tile with firm, even pressure and slight back-and-forth movement to collapse the ridges and ensure full contact. Use spacers to maintain consistent joint width and check alignment frequently with a level. Uniform contact and consistent spacing are what separate a lasting installation from one that fails prematurely.
Step 4: Grout and Seal the Tile
Once the adhesive has fully cured (check manufacturer specs — typically 24 hours minimum), apply grout using a rubber float, pressing it firmly into the joints at a diagonal angle. Remove excess before it hardens. After the grout cures, apply a penetrating sealer to both grout lines and, if applicable, the tile surface. This final step protects against moisture, staining, and long-term wear — and significantly extends the life of the installation.
We Specialize in Laying Tile Over Tile: Professional Installation Services
Not every tile-over-tile project is straightforward, and the margin for error is smaller than most DIY guides acknowledge. That’s where having experienced professionals makes a real difference. At BayTile, our team of certified tile installation experts handles assessments, surface preparation, and full installation — with the precision that this method requires.
We serve homeowners and contractors across Sacramento, Roseville, Folsom, El Dorado Hills, Granite Bay, Rocklin, and the broader Sacramento Valley region. Whether you’re working with a bathroom floor, a kitchen backsplash, or a full interior renovation, we evaluate the existing conditions first — because that evaluation is what determines whether going over the existing tile is the right call or not. Our tile flooring installation service covers everything from initial consultation to the final seal.
If you’re not sure whether your surface qualifies, reach out for a professional assessment before starting.
Is Laying Tile Over Tile a Good DIY Project?
It’s a fair question, and the answer depends on the scope and the condition of the existing surface. For homeowners with tiling experience, a solid subfloor, and tiles in good condition, it can be a manageable project. The initial savings are real — no demolition, no hauling debris, and less labor time overall.
That said, the risks are proportional to the skill level involved. A missed hollow tile, the wrong adhesive, or inconsistent surface prep can result in a failed installation that costs significantly more to fix than the original project. When the existing surface is borderline — or when the stakes are high, such as a full bathroom or commercial space — the cost of getting it wrong outweighs the savings of doing it yourself.
If you’re confident in the conditions and have relevant experience, a small, low-traffic area can be a reasonable DIY candidate. Anything more complex is worth a second opinion from someone who does this daily.
Alternatives to Laying Tile Over Tile
Sometimes the existing surface simply doesn’t qualify — and in those cases, knowing your alternatives helps you make a smarter decision.
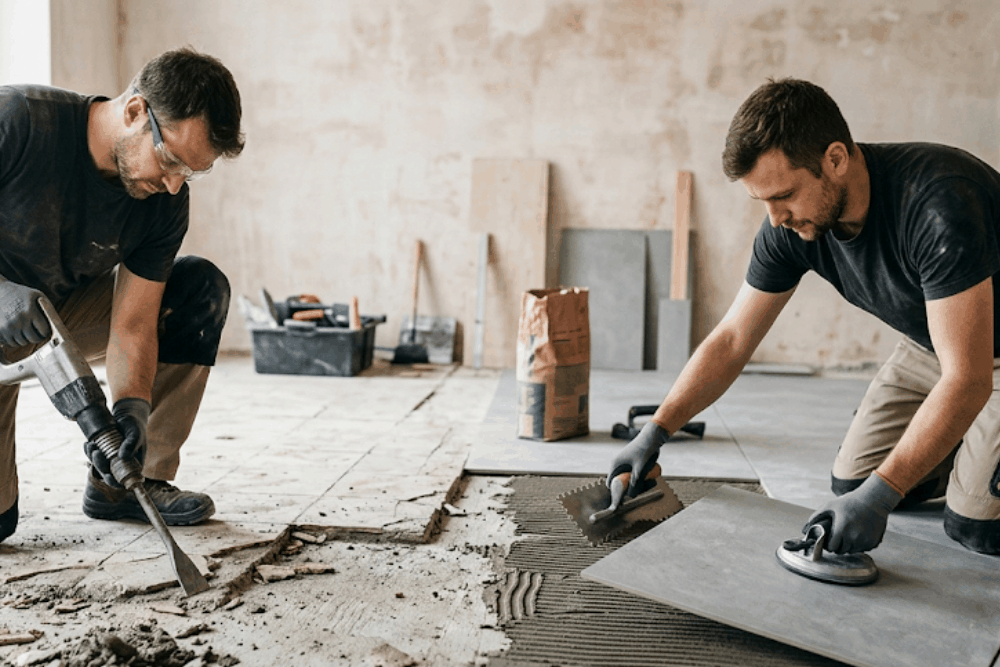
Removing Old Tile
The traditional approach. Removing the old tile gives you a clean, inspectable substrate and eliminates all the uncertainty that comes with building on top of an unknown surface. The advantages are clear: a fresh base, full control over the subfloor condition, and a longer-lasting result. The trade-offs are time, labor cost, and debris disposal. For surfaces with existing damage or significant unevenness, this is often the more cost-effective path in the long run.
Using Thin Tile Layers
A more modern alternative involves using ultra-thin tile panels — typically 3–6mm thick — that add minimal height while still covering the existing surface. This option works well when the existing tile is in good condition but you want a visual refresh without the complexity of a full overlay installation. It’s not universally applicable, but for the right project and the right surface, it’s a practical middle ground.
Whether you decide to go over the existing tile, remove it, or explore a thinner alternative depends entirely on the condition of what’s already there. The method can work well — but only when the surface qualifies and the process is followed precisely. When the stakes are high or the conditions are unclear, working with experienced professionals removes the guesswork and protects the investment. BayTile’s team is available to evaluate your project across the greater Sacramento area and help you move forward with confidence.