
Knowing how to regrout a shower can make a tired-looking bathroom feel new again, and it’s one of the more approachable maintenance projects a homeowner can take on. Refreshing the grout improves appearance and helps keep joints sealed against water, but only when the issue is actually limited to the grout itself. Below, we’ll walk through the tools, prep work, old grout removal, application, cleanup, and sealing involved in a typical job. It’s worth noting upfront: if there’s damage to the tile, waterproofing membrane, or substrate underneath, that calls for a closer look before any grout goes down — and if that’s the case, tile installation services from a professional team is the safer starting point.
Signs You Need to Regrout Shower Tile
Not every stain or rough patch means it’s time to regrout, but certain signs are worth paying attention to. Knowing how to regrout shower tile starts with recognizing when the existing grout has actually failed rather than just looking dull.
Common indicators include:
- Crumbling grout that comes away when scratched or pressed.
- Visible cracks running along the joints.
- Missing sections where grout has fallen out entirely.
- Persistent discoloration that cleaning doesn’t resolve.
- Gaps between tile and grout lines.
Surface-level dullness is usually just cosmetic, but grout cracking, especially when it’s widespread or recurring, can sometimes point to movement or moisture issues behind the tile rather than the grout alone. Once you’ve confirmed the damage is limited to the grout, the actual repair process can begin.
Tools and Materials You’ll Need
Having the right tools on hand before starting makes the whole process smoother and reduces the chance of damaging surrounding tile.
Removal tools:
- Grout saw or oscillating multi-tool with a grout removal blade
- Grout rake for tighter joints
Cleaning tools:
- Shop vacuum
- Sponges and microfiber cloths
Grouting tools:
- Rubber grout float
- Mixing bucket and paddle
Safety equipment:
- Safety glasses
- Dust mask or respirator
- Knee pads
Grout and sealing products:
- Sanded or unsanded grout, depending on joint width
- Grout sealer
Each tool plays a specific role, from cutting out old material without chipping tile edges to applying new grout evenly across the joints.
How to Regrout Shower Tile Step by Step
The final result depends as much on properly removing the old material as it does on the new grout application itself. Here’s how do I re-grout shower tiles, laid out in order.
Step 1: Remove the Old Grout
Work slowly along each joint with a grout saw or oscillating tool, cutting deep enough to remove all the deteriorated material without scoring the tile edges. Enough old grout needs to come out to leave room for the new layer to bond properly — a shallow pass won’t hold up. Go especially carefully around corners, edges, and any decorative or delicate tile, where it’s easier to chip the surface.
Step 2: Clean and Prep the Surface
Once the old grout is out, vacuum and wipe down the joints to remove dust, loose particles, and debris. The channels need to be clean and dry before anything new goes in. Leftover residue or dust in the joint can weaken adhesion and leave the finished grout line looking uneven.
Step 3: Apply the New Grout
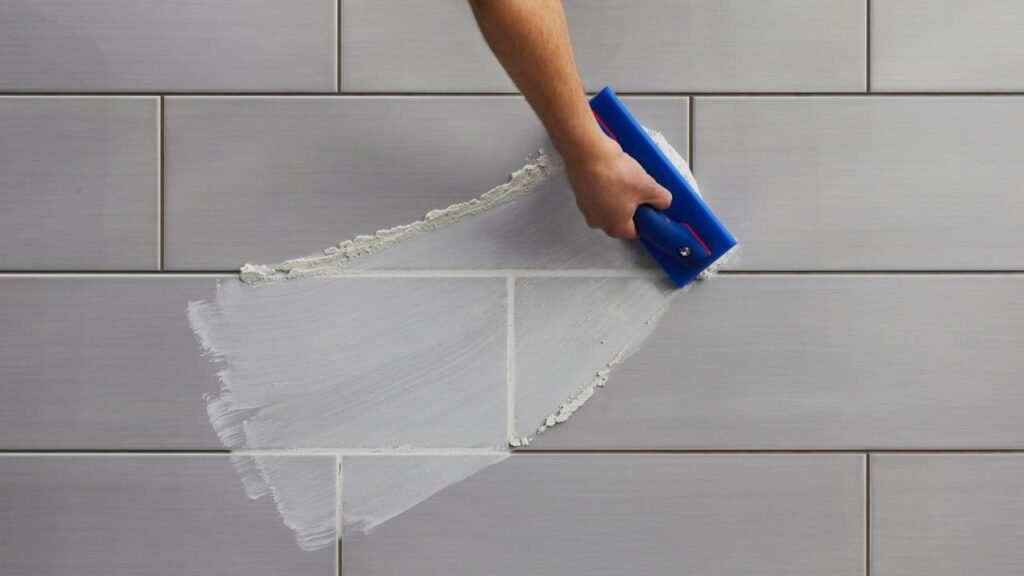
Mix the grout according to the manufacturer’s instructions, then apply it with a rubber float held at an angle, pressing firmly to pack the joints completely. Work in smaller sections rather than the whole shower at once — this keeps you within the product’s working time before it starts to set.
Step 4: Wipe Away Excess Grout
Once a section begins to firm up, wipe away the excess with a damp sponge, rinsing frequently. The goal is removing residue from the tile surface without pulling grout back out of the joints, so light, even passes work better than heavy scrubbing. Avoid saturating the area with water.
Step 5: Seal the Grout
After the grout has cured — typically a few days, depending on the product — it’s ready to be sealed. Sealing is different from waterproofing: a sealer protects the grout itself from staining and moisture absorption, but it doesn’t replace the shower’s underlying waterproofing system. Choosing the best shower grout sealant for your grout type is part of keeping joints in good shape over the long run, since this step connects directly to how well the regrouting job holds up down the line.
How to Regrout a Shower Floor
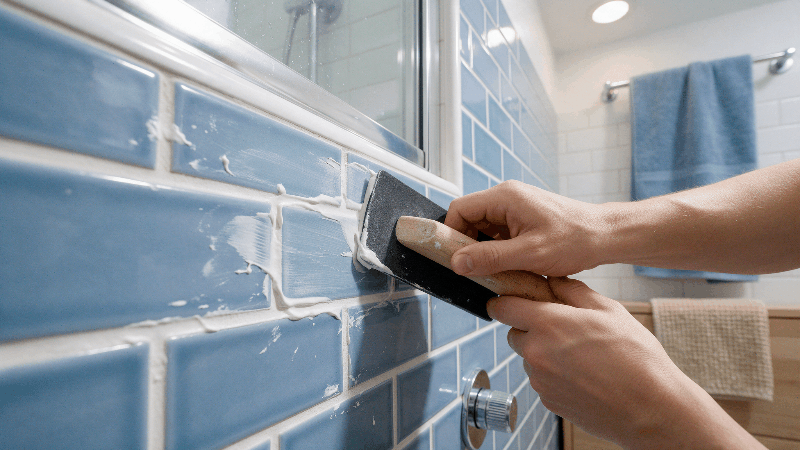
Shower floors face different conditions than walls, so knowing how to regrout a shower floor means accounting for a few extra factors. Constant water exposure, foot traffic, and the slope toward the drain all affect how grout wears over time. Floors also often use smaller tile or mosaic pieces, which means more joints in a smaller area. Work carefully around the drain itself, keeping the slope intact so water continues to flow correctly once the new grout is in place.
How to Regrout Bathroom Tiles Outside the Shower
Not every surface in a bathroom deals with the same level of moisture, which changes the approach to how to regrout bathroom tiles outside the shower enclosure. Walls, backsplashes, and floors outside the wet zone see far less standing water than shower surfaces do. Grout choice and sealing frequency should match that exposure — areas with occasional splashes don’t need the same treatment as a shower floor or wall that’s wet daily.
How Often Should You Regrout?
There’s no universal timeline for regrouting, since the answer depends on several factors working together: the type of grout used, the quality of the original installation, humidity levels, cleaning habits, and how much traffic the space sees. Rather than counting years, it’s more useful to watch for the physical signs covered earlier — cracking, crumbling, or gaps are a better guide than a fixed schedule.
DIY vs Professional Regrouting: Which Is Right for You?
Whether to tackle regrouting yourself or bring in a professional depends on a few practical factors: the size of the project, how accessible the area is, the current condition of the grout, your own experience, and whether there’s any possibility of damage underneath. A small backsplash touch-up is often manageable as a weekend project. A full shower, tricky access points, or grout that turns out to be hiding bigger issues once removal starts are better handed to someone with shower tile installation experience, since catching underlying problems early can save a lot of rework later.
Shower Tile Installation Services
Regrouting solves a lot of problems, but sometimes the wear has moved past what new grout can fix — cracked tile, failing waterproofing, or a substrate that’s no longer sound all call for a broader look. BAYTILE has installed tile and stone professionally for more than 15 years, and our team regularly works with homeowners across Sacramento, Roseville, Folsom, Granite Bay, El Dorado Hills, and Rocklin on shower projects at every stage, from a simple refresh to a full rebuild. If your shower needs more than a grout update, reach out and we’ll help you figure out the right next step.