
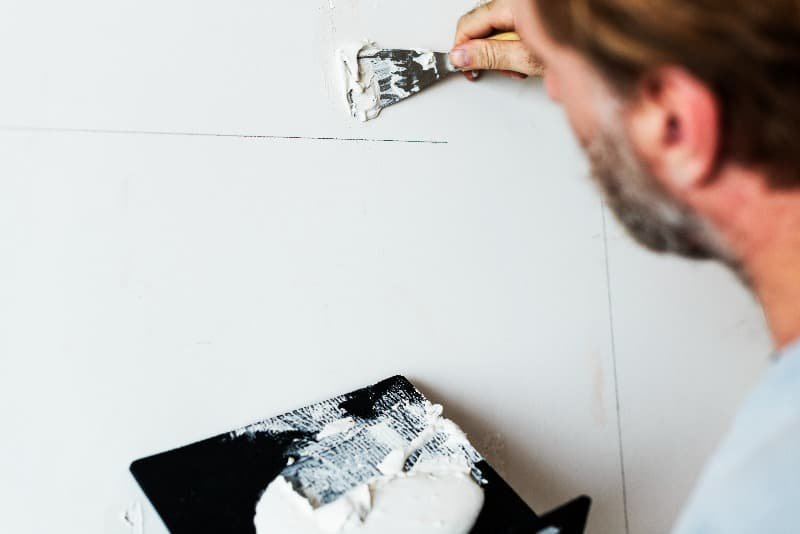
Learning how to repair chipped tile is easier than most homeowners expect. A small chip, a thin crack or a stretch of worn grout doesn’t automatically mean the whole floor needs replacing. Often the damage is local and cosmetic, and a careful repair can make it far less noticeable. This article shows you how to identify the type of damage, repair it step by step, and decide when replacement makes more sense. Keep in mind that not every tile can be repaired, because the outcome depends on the size and location of the damage.
Common Causes of Chipped and Cracked Tile
Before you pick up any tools, it helps to understand why the tile got damaged. Some causes are one-time accidents. Others point to a problem beneath the surface that a repair alone won’t solve.
The most common culprits are:
- Heavy impact: furniture, appliances or equipment set down or dragged too hard.
- Dropped objects: cast-iron pans, glass jars and tools are frequent offenders.
- Improper installation: hollow spots, thin mortar coverage or poorly spaced tile.
- Subfloor movement: flexing or settling under the tile.
- Uneven substrate: a surface that wasn’t properly leveled before installation.
- Temperature changes: expansion and contraction that stress tile over time.
- Structural movement: shifts in the building itself, which can crack tile in several places.
The key distinction is between surface damage and substrate-related damage. A chip on the edge of one tile after a dropped pan is usually surface damage. Cracks that appear in several spots, follow a line across the room, or keep coming back are more likely tied to what’s under the tile. Keep that difference in mind as you read on.
Tools and Materials You’ll Need
Small repairs don’t require a full workshop, but having the right supplies makes the result cleaner. Your exact materials may vary depending on the type of tile and the size of the chip, so check the product label for compatibility with your surface.
For cleaning:
- A soft brush or vacuum to remove dust and loose fragments.
- A mild cleaner and a damp cloth to clear away residue.
- Rubbing alcohol to degrease the surface so the filler bonds properly.
For filling:
- A tile repair kit, epoxy filler or ceramic chip repair compound.
- A small putty knife or plastic applicator for controlled application.
- Fine sandpaper to level the surface once the filler has set.
For color matching:
- Tinting pigments or a kit with several shades.
- A small brush or toothpick for fine adjustments.
- A scrap of the original tile, if you have one, to compare colors.
For sealing:
- A clear sealer suited to your tile and repair material.
- A clean applicator or lint-free cloth.
Each item has a job: cleaning helps the filler adhere, filling restores the shape, color matching blends the repair, and sealing protects it.
How to Fix Chipped Tile Step by Step
Small repairs come down to two things: a clean surface and a careful, patient application. Rushing usually leaves visible marks, so take your time. If you’re wondering how to fix chipped tile floor damage in a busy area like a kitchen or hallway, follow the same steps below, but plan around foot traffic during curing.
Step 1: Clean the Damaged Area
Start by removing all dust, dirt and loose fragments from the chip. Vacuum the area, wipe it with a damp cloth, then clean it with rubbing alcohol and let it dry completely. Any residue left in the chip can keep the filler from bonding.
While you’re there, look closely at the surrounding tile. Check for hairline cracks radiating from the chip, since these change how you should approach the repair.
Step 2: Fill the Chip
Choose a repair product that’s compatible with your tile material, whether that’s ceramic, porcelain or natural stone. Apply it in small, controlled amounts, pressing it into the chip and leveling it with your applicator. Avoid leaving excess on the surface, because it’s much easier to add a little more than to sand down a large mound.
Keep in mind that deep repairs or extensive damage may call for replacement rather than filler.
Step 3: Match the Color
Tint the filler so it approximates your existing tile. Test the color on a scrap surface first, then apply it in thin layers. Matching is harder on tiles with patterns, veining or special finishes, where the color and texture change from spot to spot. Don’t expect an invisible result. The goal is a repair that blends in and doesn’t draw the eye.
Step 4: Seal and Cure
Follow the manufacturer’s curing time exactly, and keep the area free of traffic and moisture until the product has set. Once cured, you may need to seal the repair, but that depends on the repair material and the tile type. Some products cure to a protective finish, while porous tiles and natural stone often benefit from an added sealer.
How to Fix Cracked Floor Tile
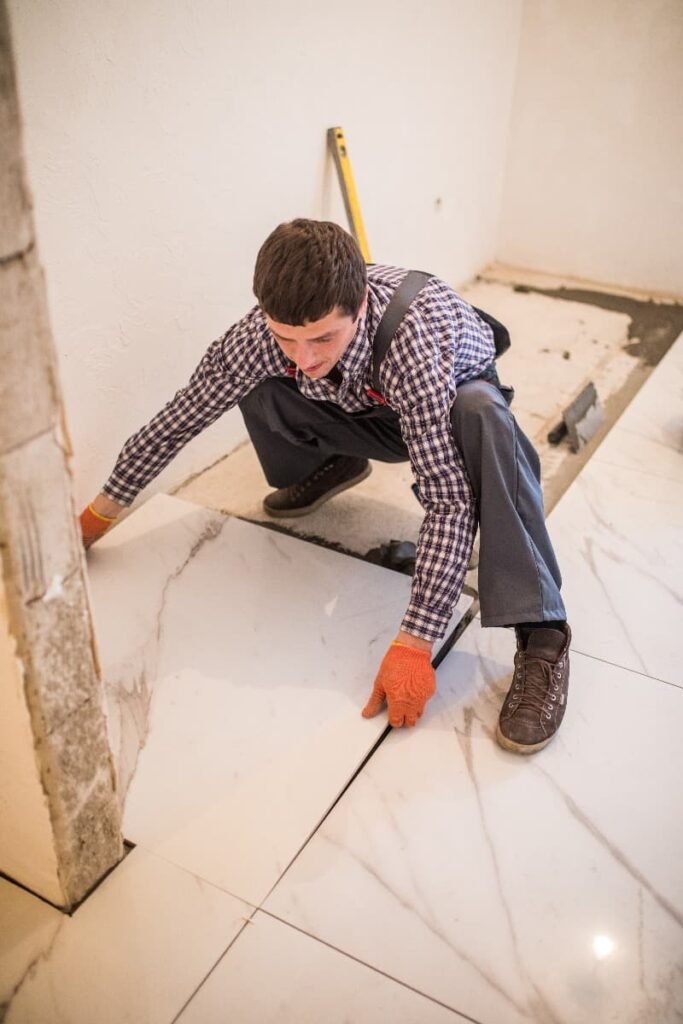
A crack that runs through the tile is a different problem from a small chip. It can signal stress or movement below, so before anyone asks how to fix cracked floor tile, the first question should be: why did it crack?
Start by checking whether the crack is limited to the tile itself or whether something is moving underneath. Press gently around the area and listen for hollow sounds. Look for cracks that continue into neighboring tiles or across grout lines. Filling a deep crack without understanding its cause usually leads to the same crack coming back.
Repairing Small Hairline Cracks
A hairline crack can sometimes be repaired when it’s thin, stable and confined to a single tile. The general process looks like this:
- Clean the crack thoroughly and let it dry.
- Work a compatible filler or epoxy into the crack.
- Wipe away excess and let the product cure.
- Lightly finish and color-match the surface as needed.
This kind of repair has limits. It can improve the appearance and keep debris out of the crack, but it won’t restore structural strength, and the line may stay faintly visible. If you’re researching how to fix crack tiles across a whole room, remember that repeated cracking calls for a different approach than a single-tile fix.
When Full Tile Replacement Is Needed
Repair stops being enough when you see signs like these:
- Tile cracked through its body.
- Multiple cracks in the same area.
- Loose tile that shifts or sounds hollow.
- Repeated cracking in the same spot.
- Significant impact damage.
If the problem comes from the substrate, replacing one tile may not fix the cause, and the new tile could crack too. In that case, you may need to remove old tiles and correct the surface underneath before installing new ones.
How to Fix Cracked Grout on Tile Floor
Cracked grout and cracked tile are two separate issues, and they don’t always need the same solution. Grout is more flexible and porous than tile, so it tends to show wear first. If you want to know how to fix cracked grout on tile floor surfaces, start by confirming the damage is limited to the joint.
Run a fingernail along the crack and check that the tile edges on both sides are intact and level. If so, the repair is usually about removing the deteriorated grout and replacing it with fresh material, a job that’s far more contained than a tile replacement.
Pay attention to patterns, though. Cracks that keep returning in the same joints can point to floor movement or installation problems, not just aging grout. In that case, replacing the grout is only a temporary fix until the underlying cause is addressed.
When to Repair vs Replace a Damaged Tile
By now you have a sense of the options. This table works as a quick decision guide, and it’s most useful when you also consider what caused the damage.
| Repair may work when… | Replacement may be better when… |
| Small chip | Tile is broken through |
| Minor cosmetic damage | Tile is loose |
| Stable surrounding tile | Cracks keep returning |
| Damage is localized | Multiple areas are damaged |
If most of your situation falls in the left column, a careful repair is a reasonable first step. If it falls mostly in the right column, replacement will probably save you time and frustration. And if the cause is unclear, it’s worth having someone look at the floor before you commit to either option.
Floor Maintenance Services
Repairing damage is only half the story. Preventing the next chip or crack matters just as much, and it usually comes down to simple habits. Regular cleaning, periodic checks of grout lines, and dealing with small problems early all help protect your flooring. Loose grout or a slightly raised edge is much easier to address before it becomes a broken tile.
That’s where professional help can make a difference. Bay Tile, led by founder Walter Argueta, has been working with tile and stone for over 15 years. If your floor needs more than a DIY fix, our maintenance and repair services can help you assess the damage, repair what can be saved, or plan a new installation when replacement is the better path. We work with homeowners in Sacramento and have served the area since expanding from the San Francisco Bay Area in 2017. Homeowners in Roseville can count on the same care.
Not sure whether your floor needs a repair or a replacement? Reach out to Bay Tile and we’ll take a look at the condition of your tile, explain your options, and help you decide what makes the most sense for your home.